So you've taken the plunge, and you're here now!
So now we just need to get your save files over, and get them all up and running. Easy stuff!
So, you'll need to locate your world first. If this is on your PC, you'll need to go to C:\Users\<<My Username>>\AppData\LocalLow\IronGate\Valheim\Dedicated to find it. You'll find 2 files per save in the "worlds" folder - one is a .fwl file, the other is a .db file - they both have the same world name (ie. Southnode.db and Southnode.fwl where "Southnode" is your world name). You may also have .fwl.old and .db.old files with the same name. Grab all of those, and head to your instance's control panel (the URL of which is located in your Client Area)
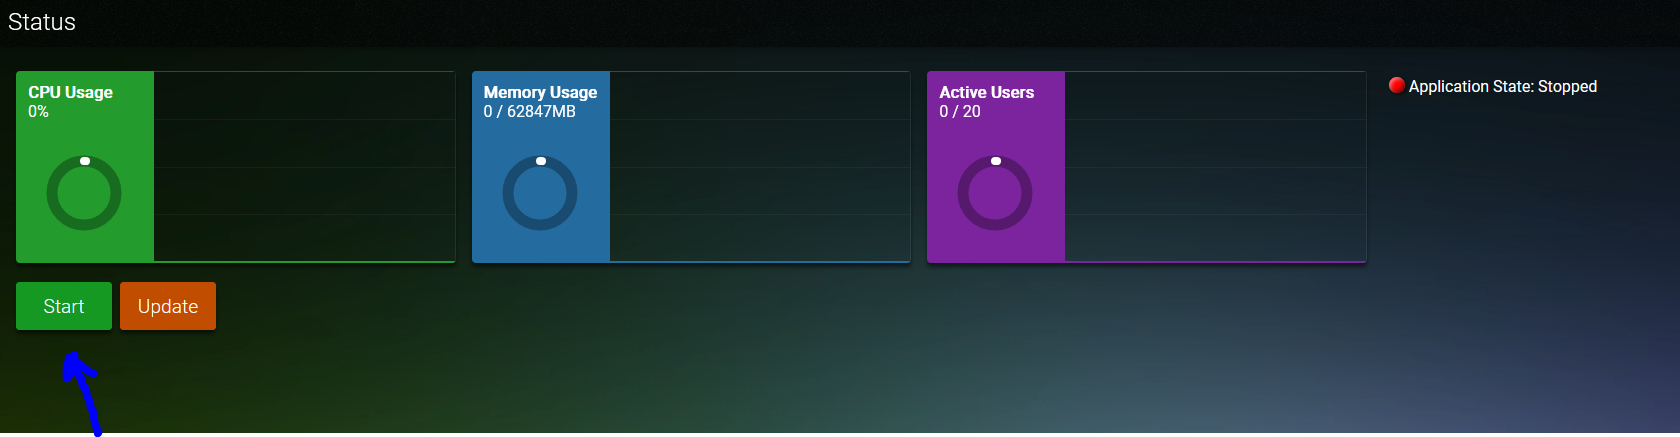
First thing's first - press the Start button once your server has finished installing, and wait for this to finish. This usually takes around 1 minute or so to generate the required files/directories.
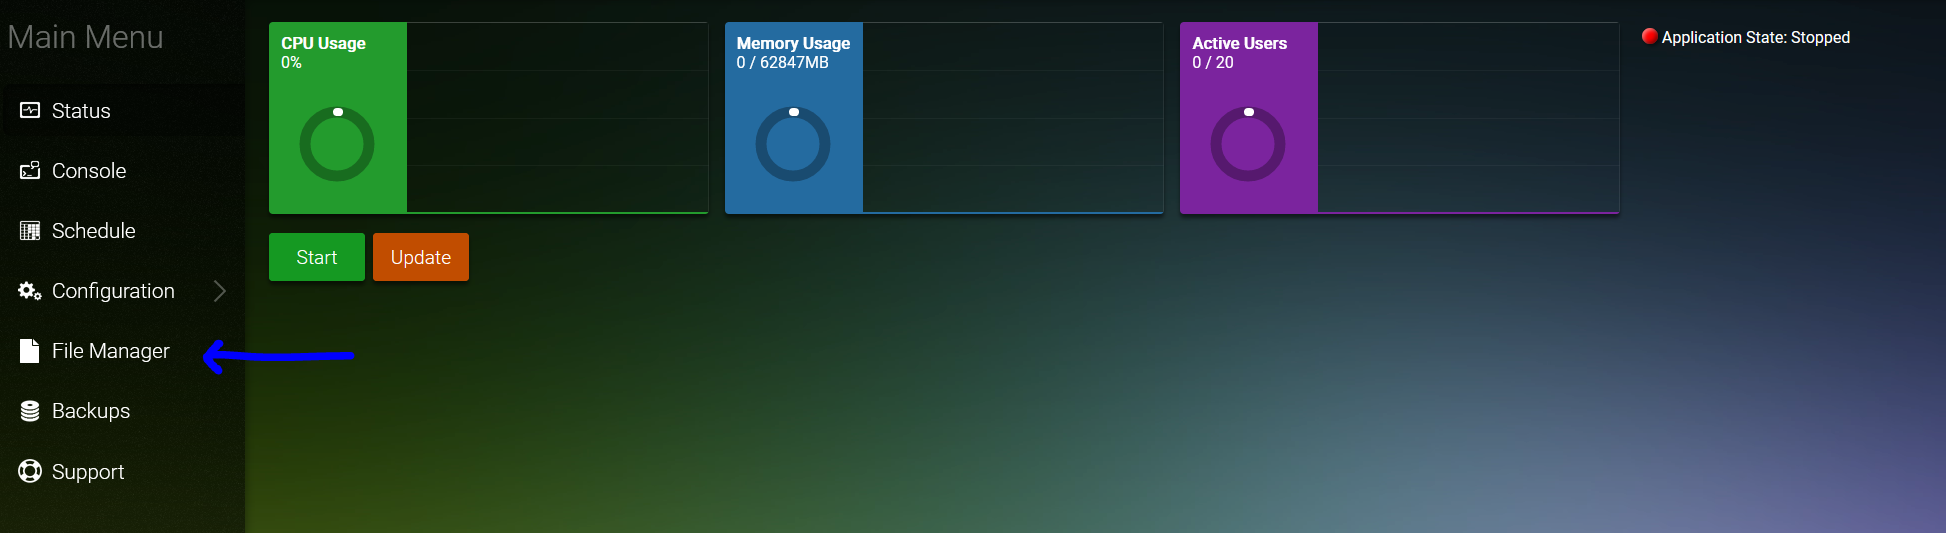
Once that's completed, head to the File Manager menu on the left side of the panel
Once here in the File Manager, you want to navigate to the Saves folder, then to worlds_local
In the worlds_local folder, upload your save file. You can do this by dragging and dropping the files (you may need to refresh the page afterwards to confirm the files have uploaded correctly)
Once this is complete, navigate to the Configuration Menu, then to Valheim - General Settings


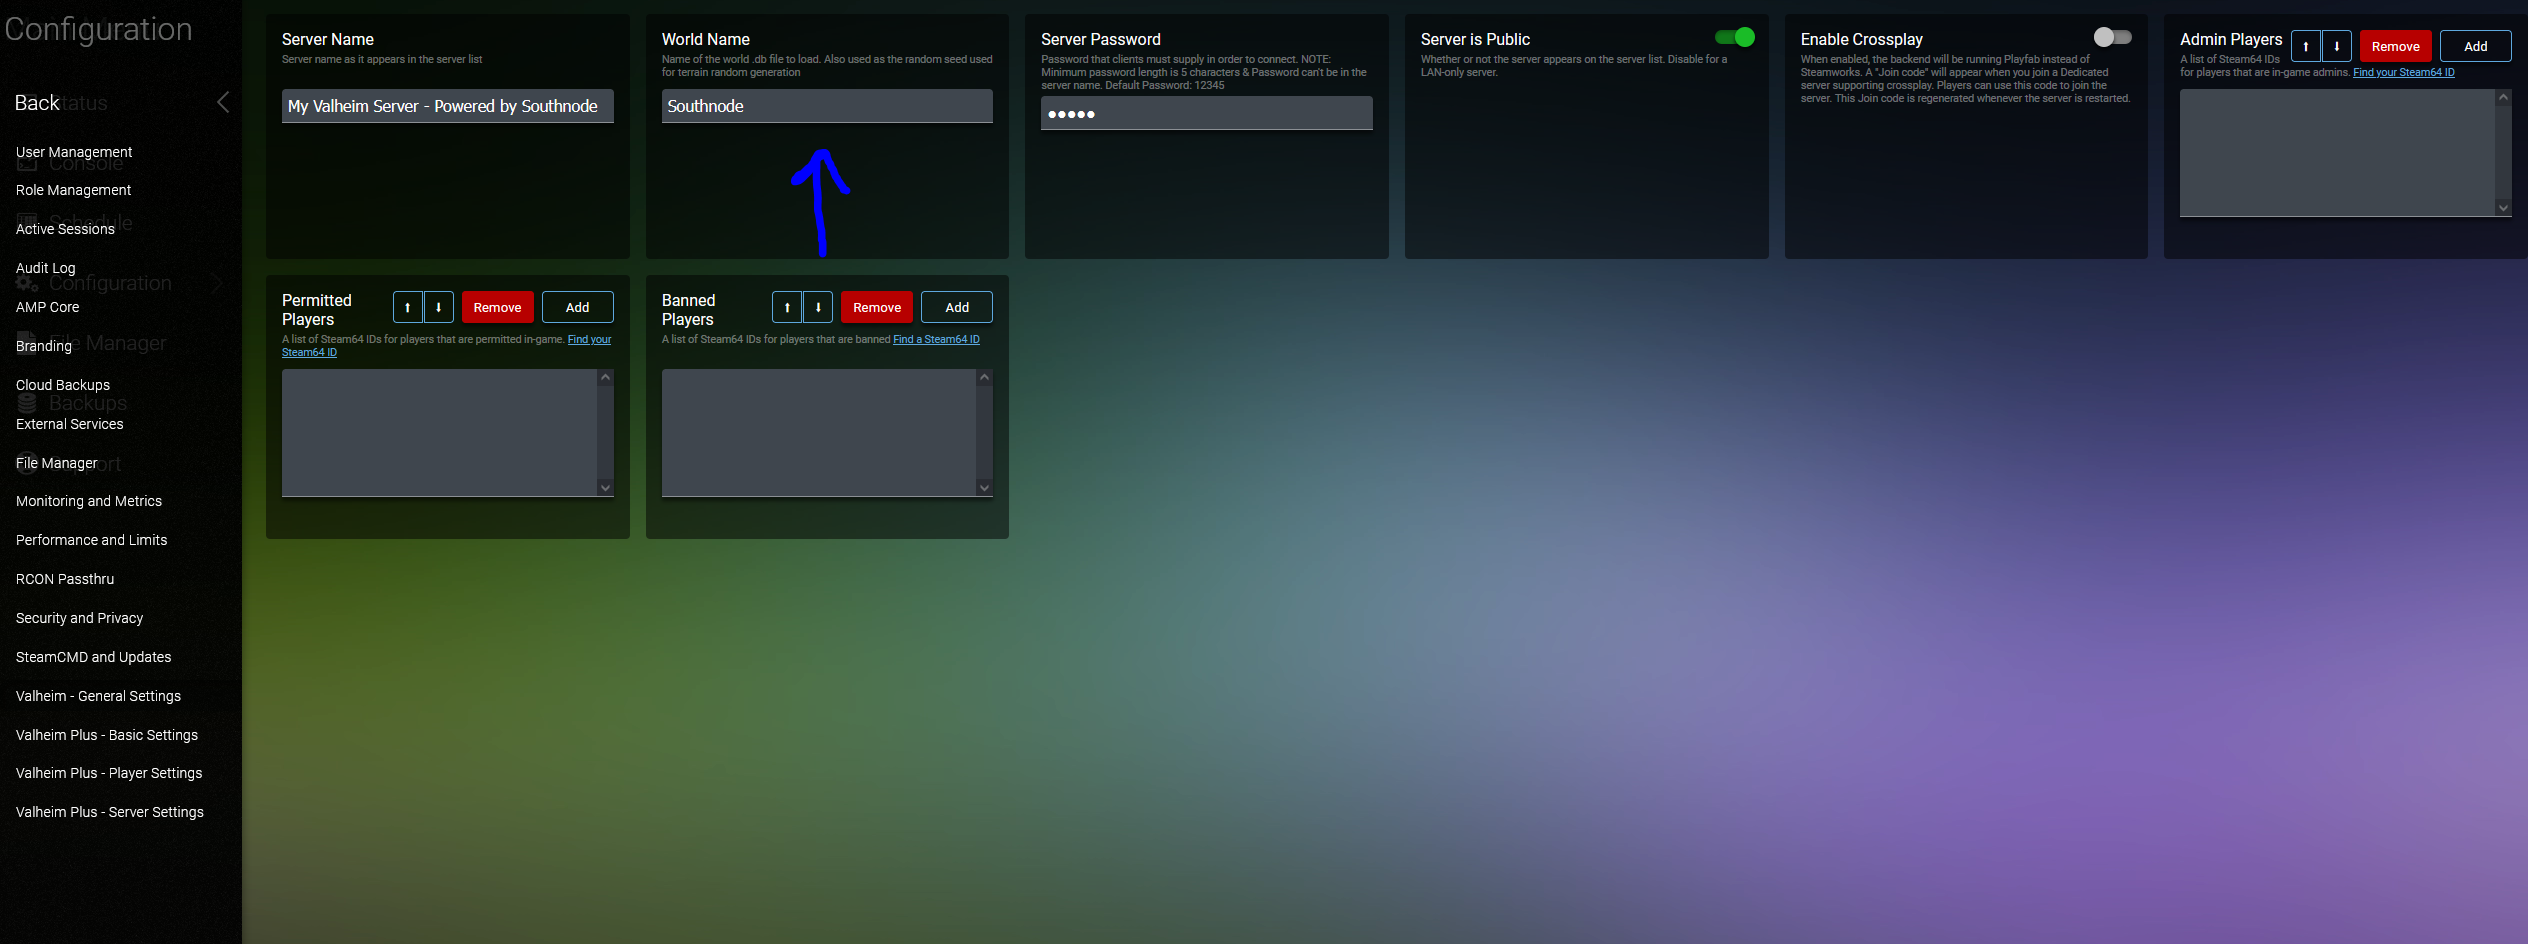
Here, we need to change the name of the World Name parameter to be whatever the name is of your world save. This needs to match EXACTLY or this won't work. So if your world name is for example "chicken.fwl" and "chicken.db" then your World Name setting should be chicken. This needs to match exactly, or it won't load your save. Once you've done that, head back to the Status page and Start your server. As per usual, your server password needs to be over 5 characters long, so make sure it's a good one!
