Here at Southnode.net we've made it easier than ever to transition from a self-hosted Minecraft server to a 24/7 uptime setup utilising our services and high-powered infrastructure. Find out how below:
- Make a zip of your server, making sure the top level of the zip contains your jar file,
server.properties, world directories and other data. - Order a fresh Minecraft server with the appropriate level of RAM for your instance (if you don't know how much your server uses, turn your server on locally on your original installation, and check the memory usage whilst players are online).
- Login to your newly provisioned instance and go to the File Manager. This will reveal the contents of the
Minecraftdirectory in your instance’s datastore.
- Drag the zip into the File Manager to upload it. Alternatively, upload the zip using the integrated SFTP server if the zip file is quite large.
- Extract the archive in-place (right click in the File Manager).
- Right click the
server.propertiesfile and select the ‘Import Configuration’ option.
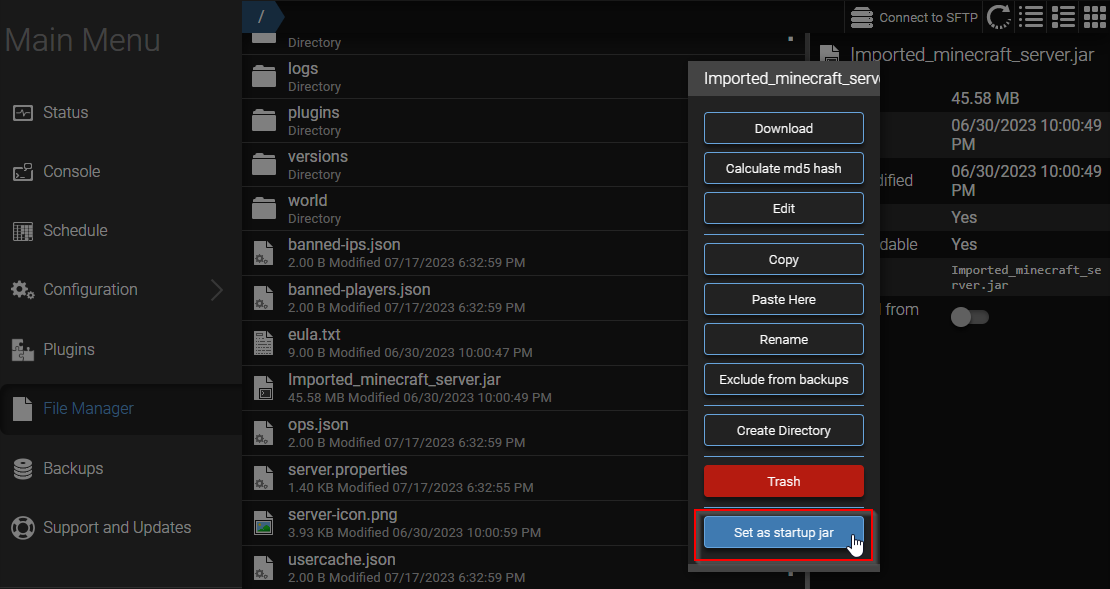
- Right click your server’s jar file and select the ‘Set as startup jar’ option.
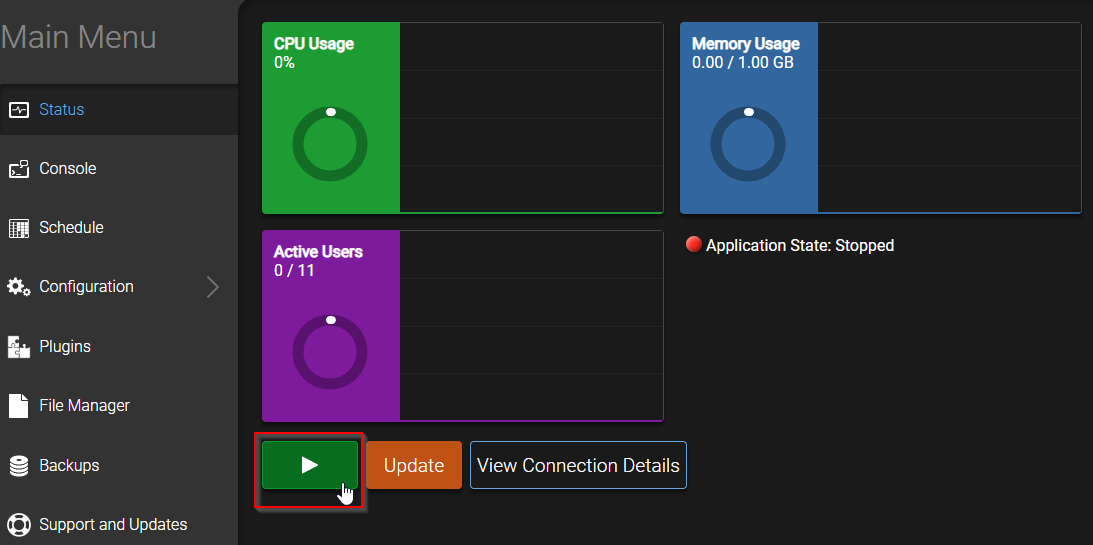
- Start the server on the Status tab.
Voila! Your server has been imported for use in the Southnode.net ecosystem! As always if you have further questions regarding the setup of your Minecraft server, head on over to our extensive Knowledgebase, or send through a ticket to our helpful Server Support specialists.
Further Reading
Control-Panel---First-Login-and-Status-Indicators.
Getting-Large-Files-in-and-out-of-your-Server
How-to-add-a-custom-map-to-my-Minecraft-Server
